
Click here to get all articles about e-Commerce (Index Page)***
Previous Article: Joomla Environment Setting [Part-1] – (Server Setup for creating the E-Commerce site)
4.9. Installation and Configuration
Before installing Joomla, we’ve made Joomla environment and made Joomla database. Our main task is to install Joomla software. At first, we have to collect Joomla software. You may collect it in many ways. You may go www.Joomla.org. From there, you may download Joomla software. Or you may write on Google that “Free Joomla software download” and you will get the Joomla package.
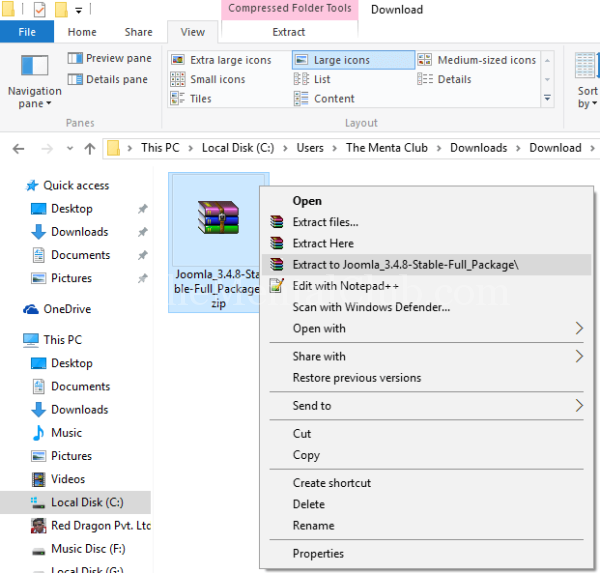

Download the ZIP file of Joomla and unzip it with a file compression software (WinRaR). If you get Zip then you have to unzip it. If you do not get unzipped file, then it is not required to unzip it.
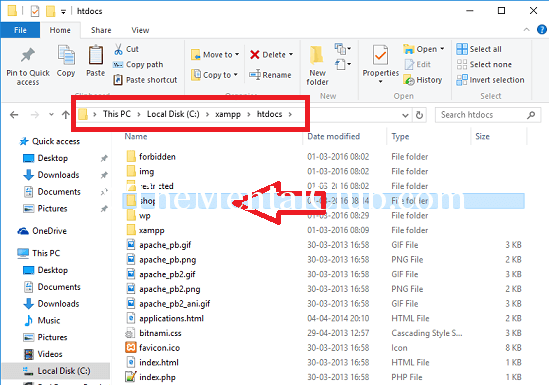
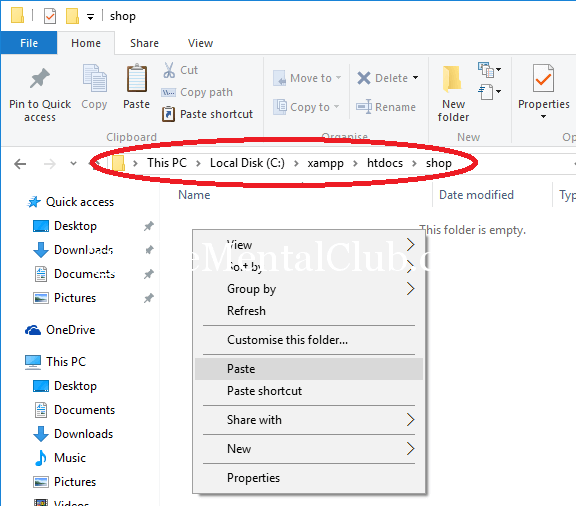
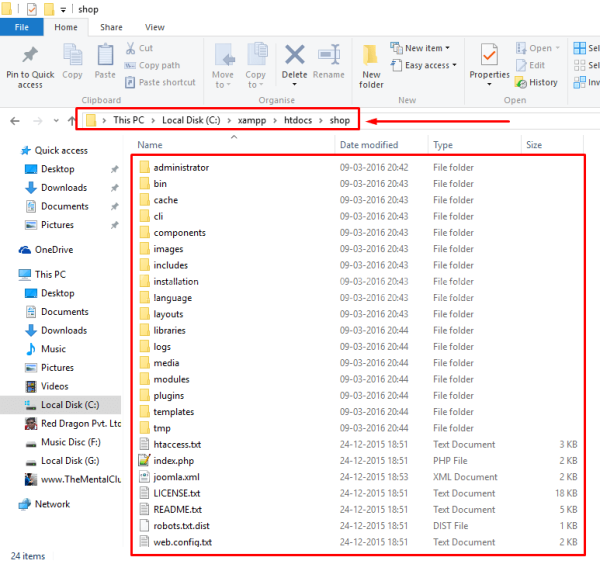
Now, copy the unzipped folder from the downloaded directory and copy all the files/folders from the extracted directory and paste it into a new directory of c:\xampp\htdocs folder. I’ve created a new directory with the name “shop” into the c:\xampp\htdocs directory.


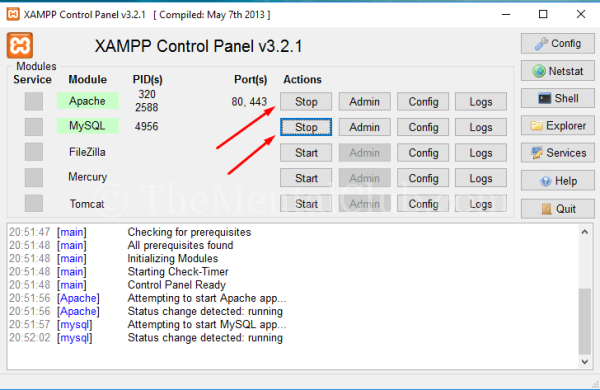
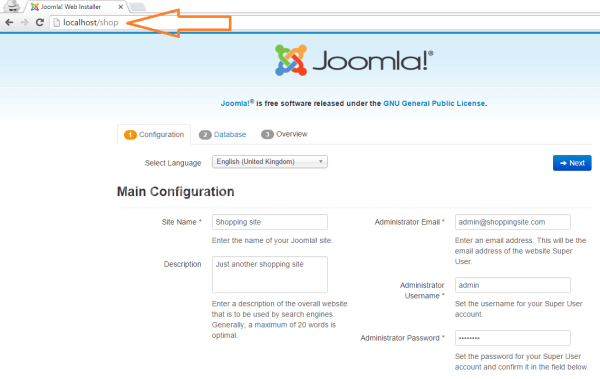
Now you go in the browser and write http://localhost/shop and press “Enter” button. Then the page will come in front of you just like the below picture. (Don’t forget to run the XAMPP SERVER).

In the page of the main configuration page, you give the name of the website in the box of the Site Name. In here, I’ve given the site name which is Shopping Site.

Click on “Next” option.
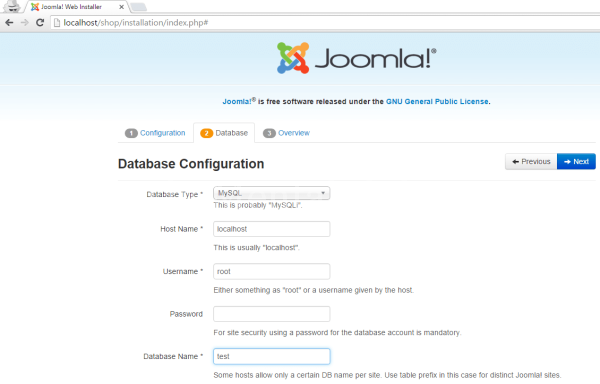
Now please select the “MySQL” in database type.
Write “Local host” in the place of Host name.
Write “root” in the box of the username.
Keep empty in the box of Password.
Write “test” in the box on the Database.
[If you create a user on the server then without root the name of the user automatically replaced and your password will be “password”. But mind it that it is not the username and password on your computer, it is the user name and password of server.]
You give the E-Mail address in the box of E-mail. For example, I have given the e-mail which is admin@shoppingsite.com. If you don’t have an email account, then you give test@mail.com.
You give the desired password in the box of Admin Password. But the password which you give must be kept in your mind. For example, in here I have given the password is 123456.
Select Database Type: MySQL
Now click on “Next” option.

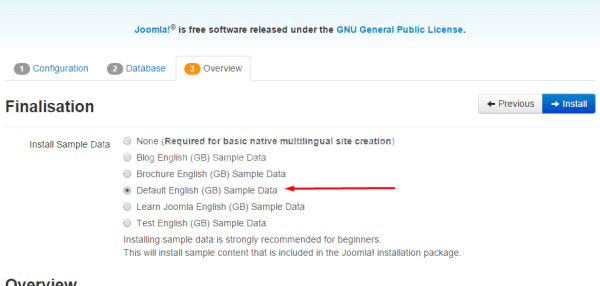
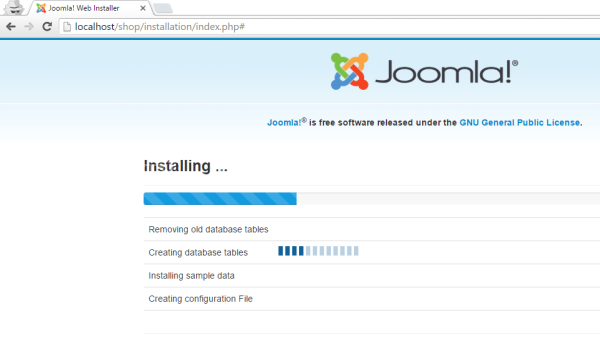
Now, in below, click on the “Default English (GB) Sample Data” and Install it.

After clicking on “Install” option you will get the message just like the below picture in where the text which is written in Red Colour is “PLEASE REMEMBER…”

Now keep this page minimize.
Now you have to delete the folder named installation. After deleting this folder you have to adopt the following steps. At first, you have to the installed directory (c:\xampp\htdocs\shop).
In here you have to delete the folder named “installation”.
Now, open the minimized page and click on the site.
Problem! Watch the video tutorial.

Next Article: 4. Joomla Environment Setting [Part-2] – Introduction to Joomla Administrator
Thank you!


